
Getting started with GeomLab
When you start GeomLab (by clicking on the Big Green Arrow), you may be asked for permission to run a signed application. After you give permission, a window appears that looks like this:
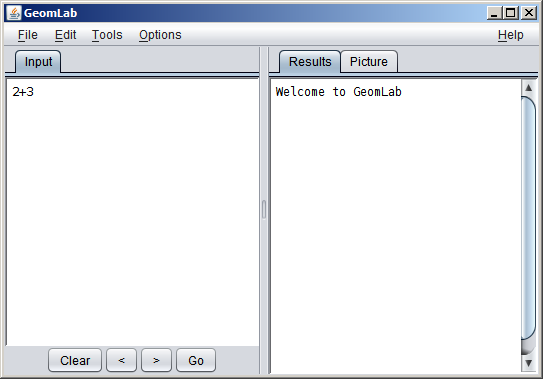
This window has two areas for text. To the left
is an area where you can
type an expression like "2+3"; then either hold down the Shift key and press the Return key, or click with the mouse on the Go button at the right. (Pressing just Return in its own simply
inserts a newline into the expression). GeomLab copies your expression into the area at the right,
and then shows the value of the expression, like this:
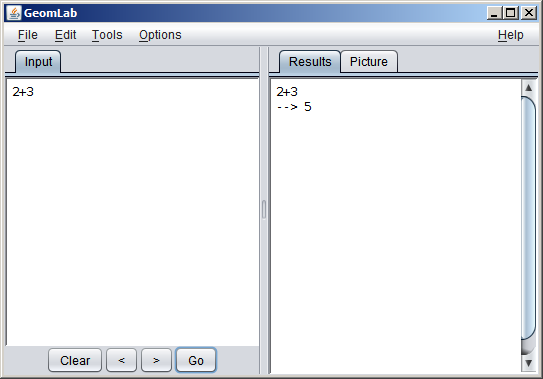
At its simplest, GeomLab can be used as a kind of calculator, showing
the value of each expression that you enter. But expressions in
GeomLab don't always have numbers as their values; some expressions
evaluate to pictures. For example, the constant man has as its value
a stick figure of a man:
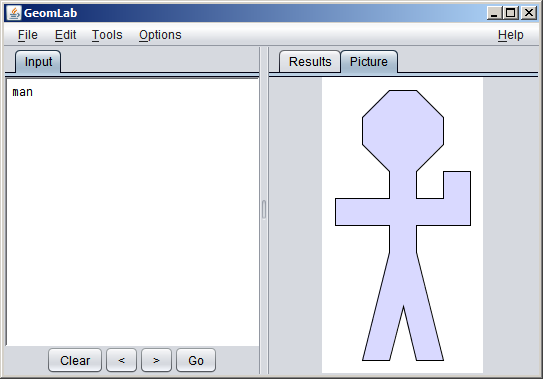
GeomLab has switched to the Picture tab on the right to show you the value of the expression. Most of the interesting expressions and programs you will write as part of this activity will have pictures as their values.
At first, you will only need to type single expressions and look at the pictures that they denote. Later, we will be writing expressions that depend on one or more definitions; at that point, you can type both definitions and expressions in the same area, like this:
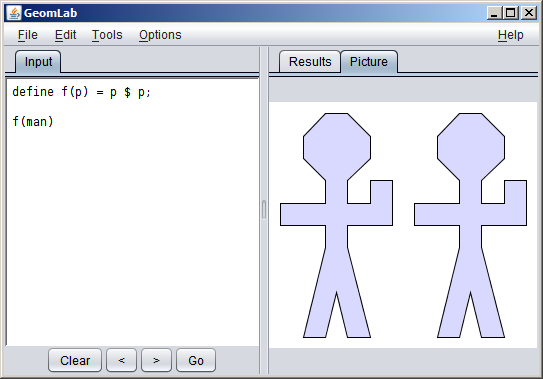
Each definition has a semicolon to separate it from the next definition or expression. GeomLab forgets your previous definitions and starts afresh each time you press Shift-Return or click on Go, so if you don't like the way your functions are working, you can change the definitions and try again.
You are now ready to begin work on the first worksheet.