Using Microsoft Teams for Tutorials
In this post, I will attempt to outline a convenient way to conduct tutorials using Microsoft Teams. In all likelihood, it will only be of any interest to tutors in Oxford. My own needs for tutorials are the following: see the students, let the students see me, share a common whiteboard (or blank sheet of paper), mark part of their work in real time and point things out to them on their submitted work. I also never have more than three students in my tutorial group. Microsoft Teams does not allow one to see more than four people on the screen at the same time. My guess is that requirements will be similar for all tutors in the sciences, though some aspects may be helpful to others as well. If you only need to be able to talk and discuss from a common sheet that is accessible to all participants, the overhead of what is outlined below is probably not worth the trouble.
Setting up a Team
Microsoft Teams can be used pretty much like skype or any other video-chat software. However, making a “team” can significantly improve the experience. Some of the benefits (for me) are:
- Ability to create various private and public channels to facilitate discussion
- Ability to connect to the same call from more than one device
- Automatic invitation to all members on a channel when starting a meeting
In order to set up a team, you will have to submit a request to Oxford IT here. It says that it may take up to two days, but all my requests have been approved much sooner. After filling out a fairly simple form, you will have your team set up. (One slightly strange aspect is that you are required to provide at least two owners on the form. If there are multiple subject tutors in the college, this shouldn’t be an issue; but in any case, you can add someone and remove one of the owners later.)
Creating Channels
By default the team has a channel called General. It is not possible to delete this channel and is pretty difficult to remove random stuff from it. I recommend immediately changing the permissions to only allow Owners to post to General and not using that channel as far as possible. If you want to experiment, you could create a new channel and test things out there and later delete that channel. There are a lot of options in the settings; the defaults are mostly sensible, but to be cautious, I removed the ability of non-owners to create private channels.
For basic functionality, my plan is to create a private channel for each tutorial group, e.g. ip3-tutorial-group1, with me and the students in that tutorial group on it. Members of the team (including owners) cannot see any private channels unless they are themselves a member of that channel. This means that except for the Owner of the team, there will be relatively little clutter for most team members. Students will only see the General channel and the channels for their own tutorial groups. Eventually, I might consider setting up a couple of social channels.
During a Tutorial
My plan during tutorial is to use the audio/video/mic from my desktop. I will
also connect using my tablet (Surface Go in my case, but anything else should
work as well). When connecting to the same meeting from a second device, it is
important to make sure to mute the microphone and switch off the camera on the
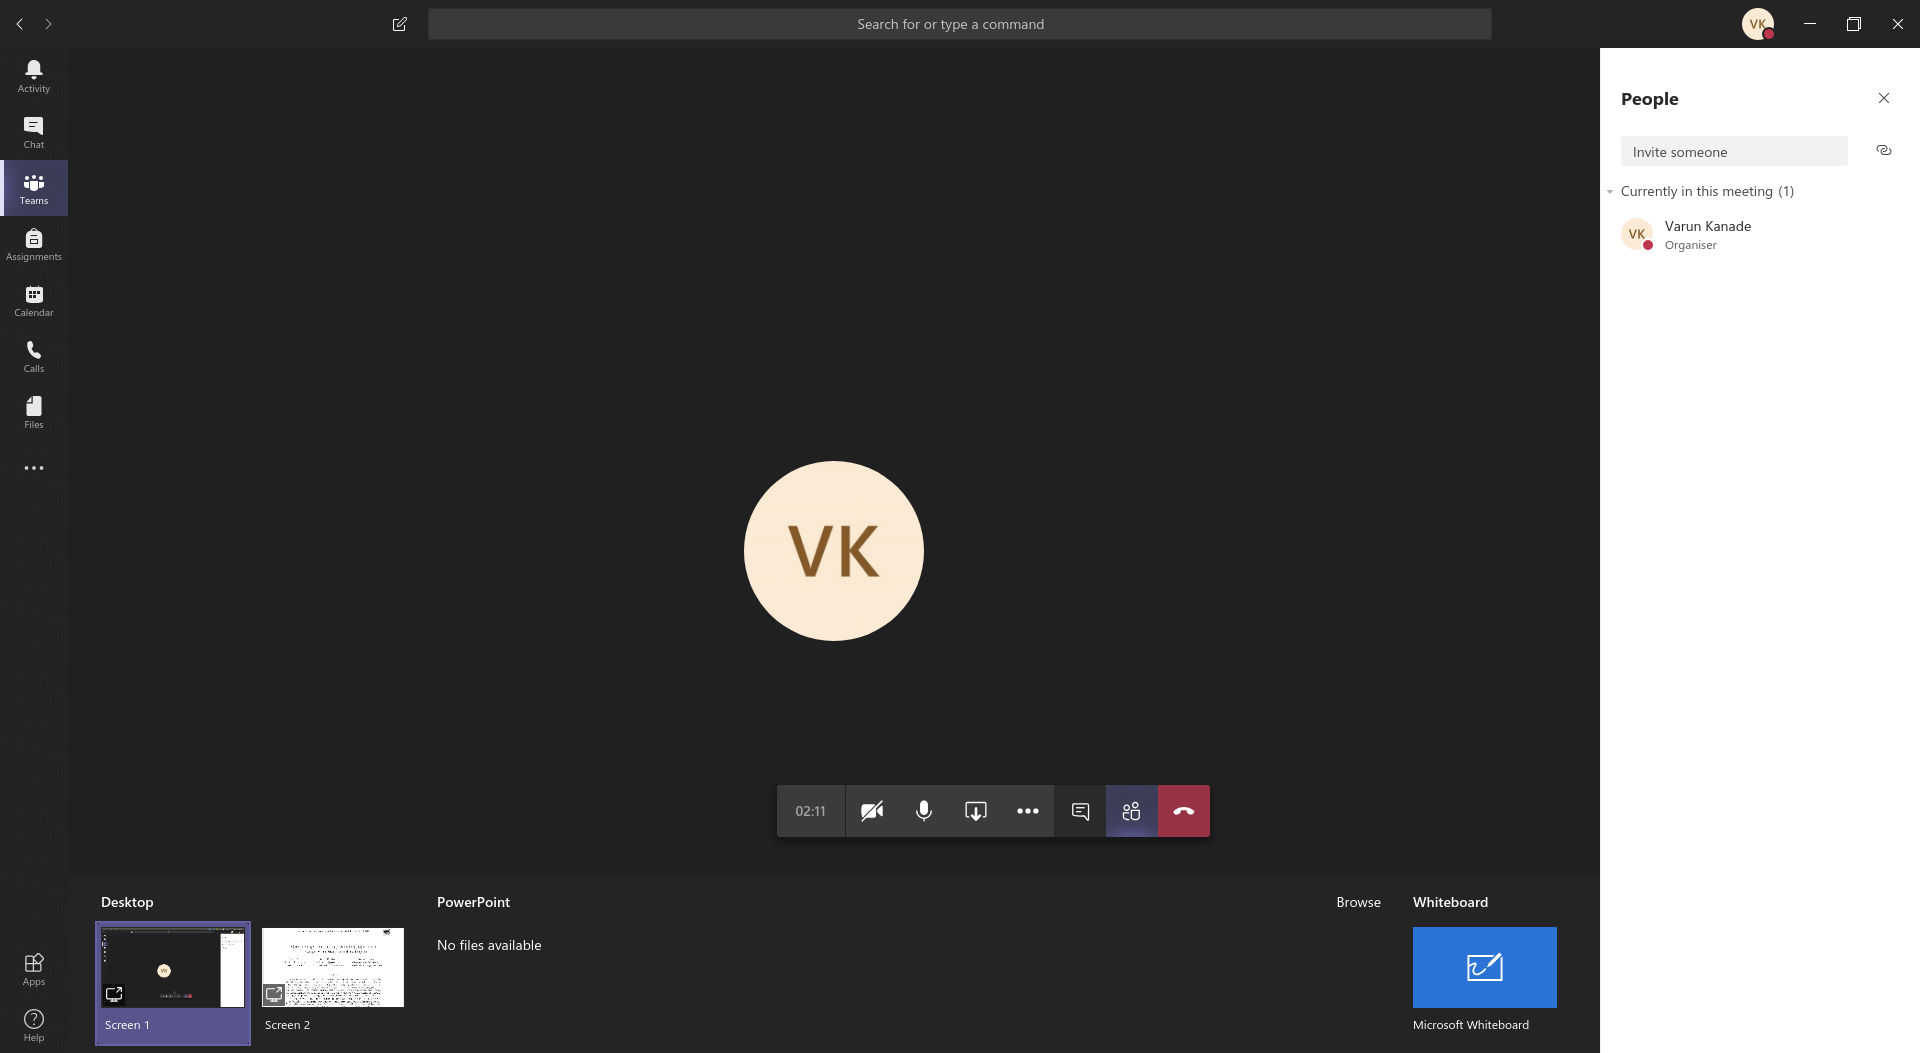
secondary device (tablet in my case). It is possible to share the screen from
any device. For example the following picture shows how I could share either of
the two screens on my desktop or create a new whiteboard.
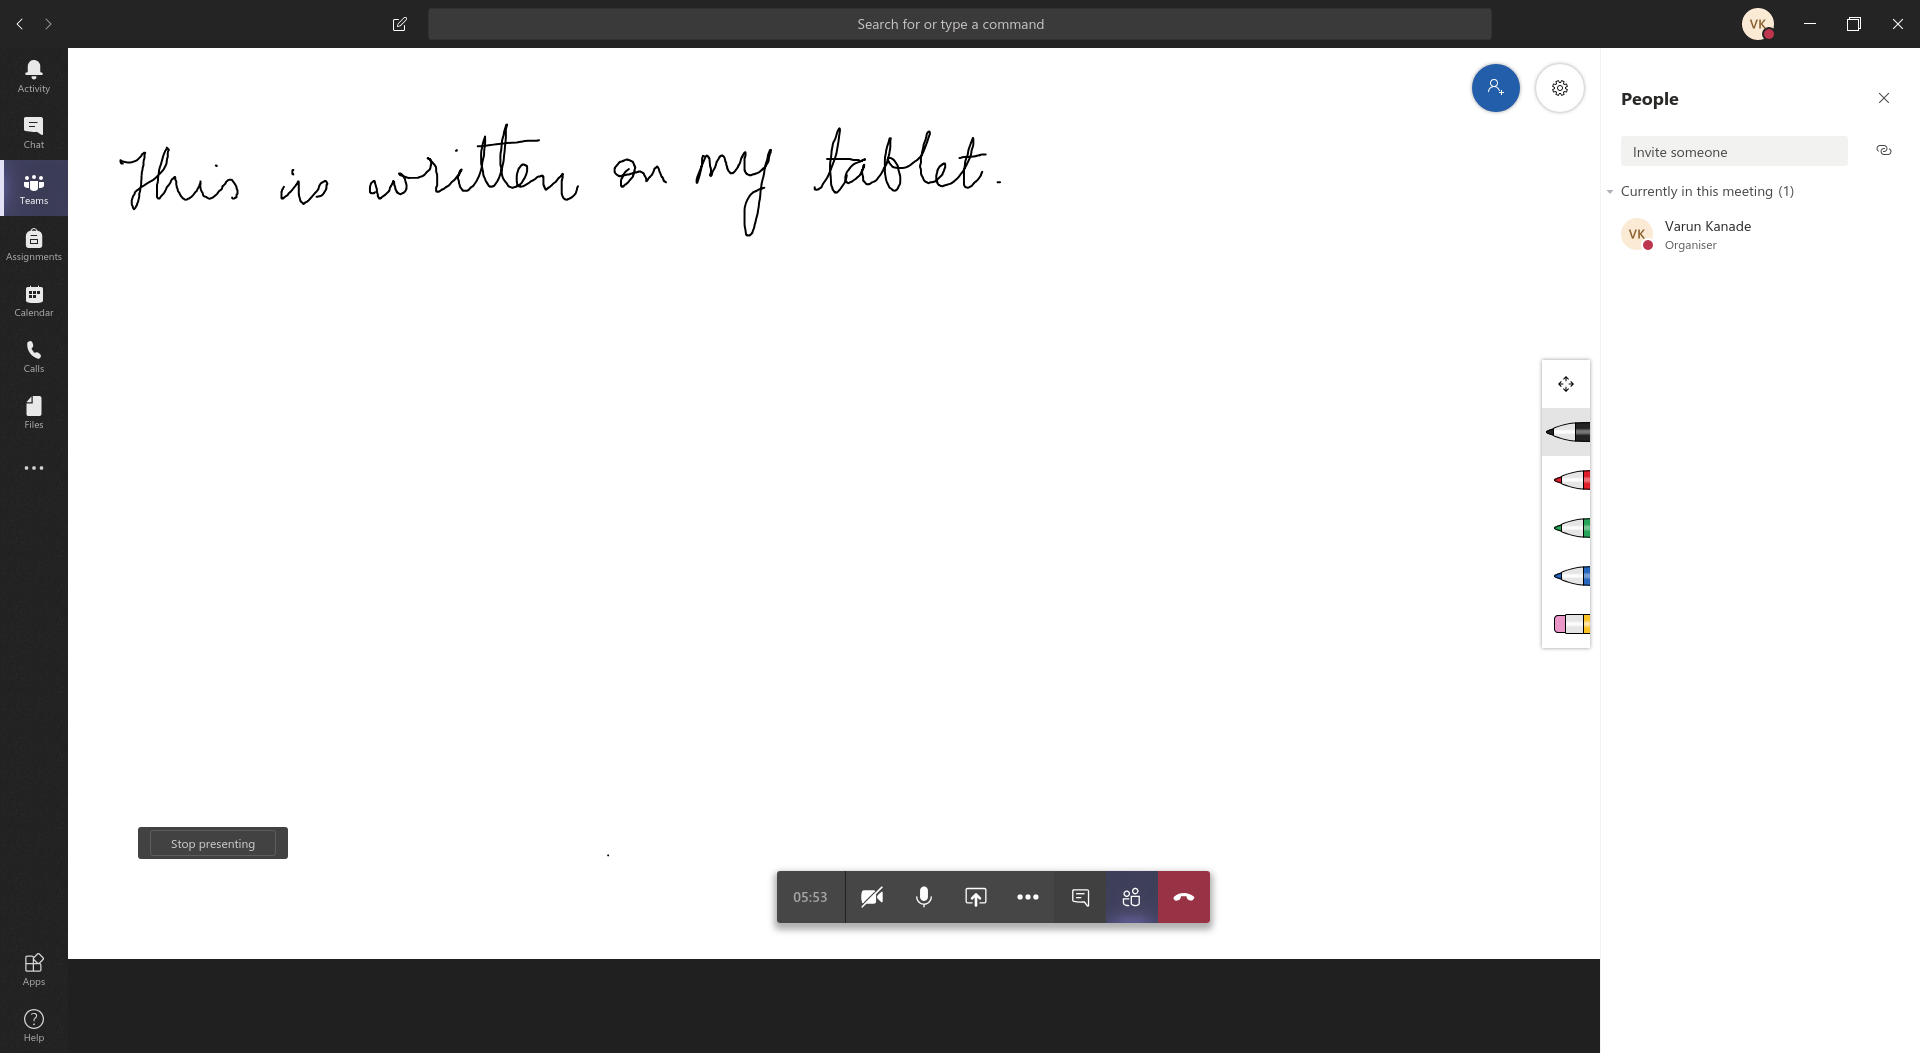
Having connected with a tablet, I can use the tablet to share a whiteboard. While I write on the tablet, this is visible to the user at the other end on their screen and also my desktop screen.
In principle it is possible for any user in the call to make marks on the whiteboard. In the picture below, the red line and green circle are made on my desktop.
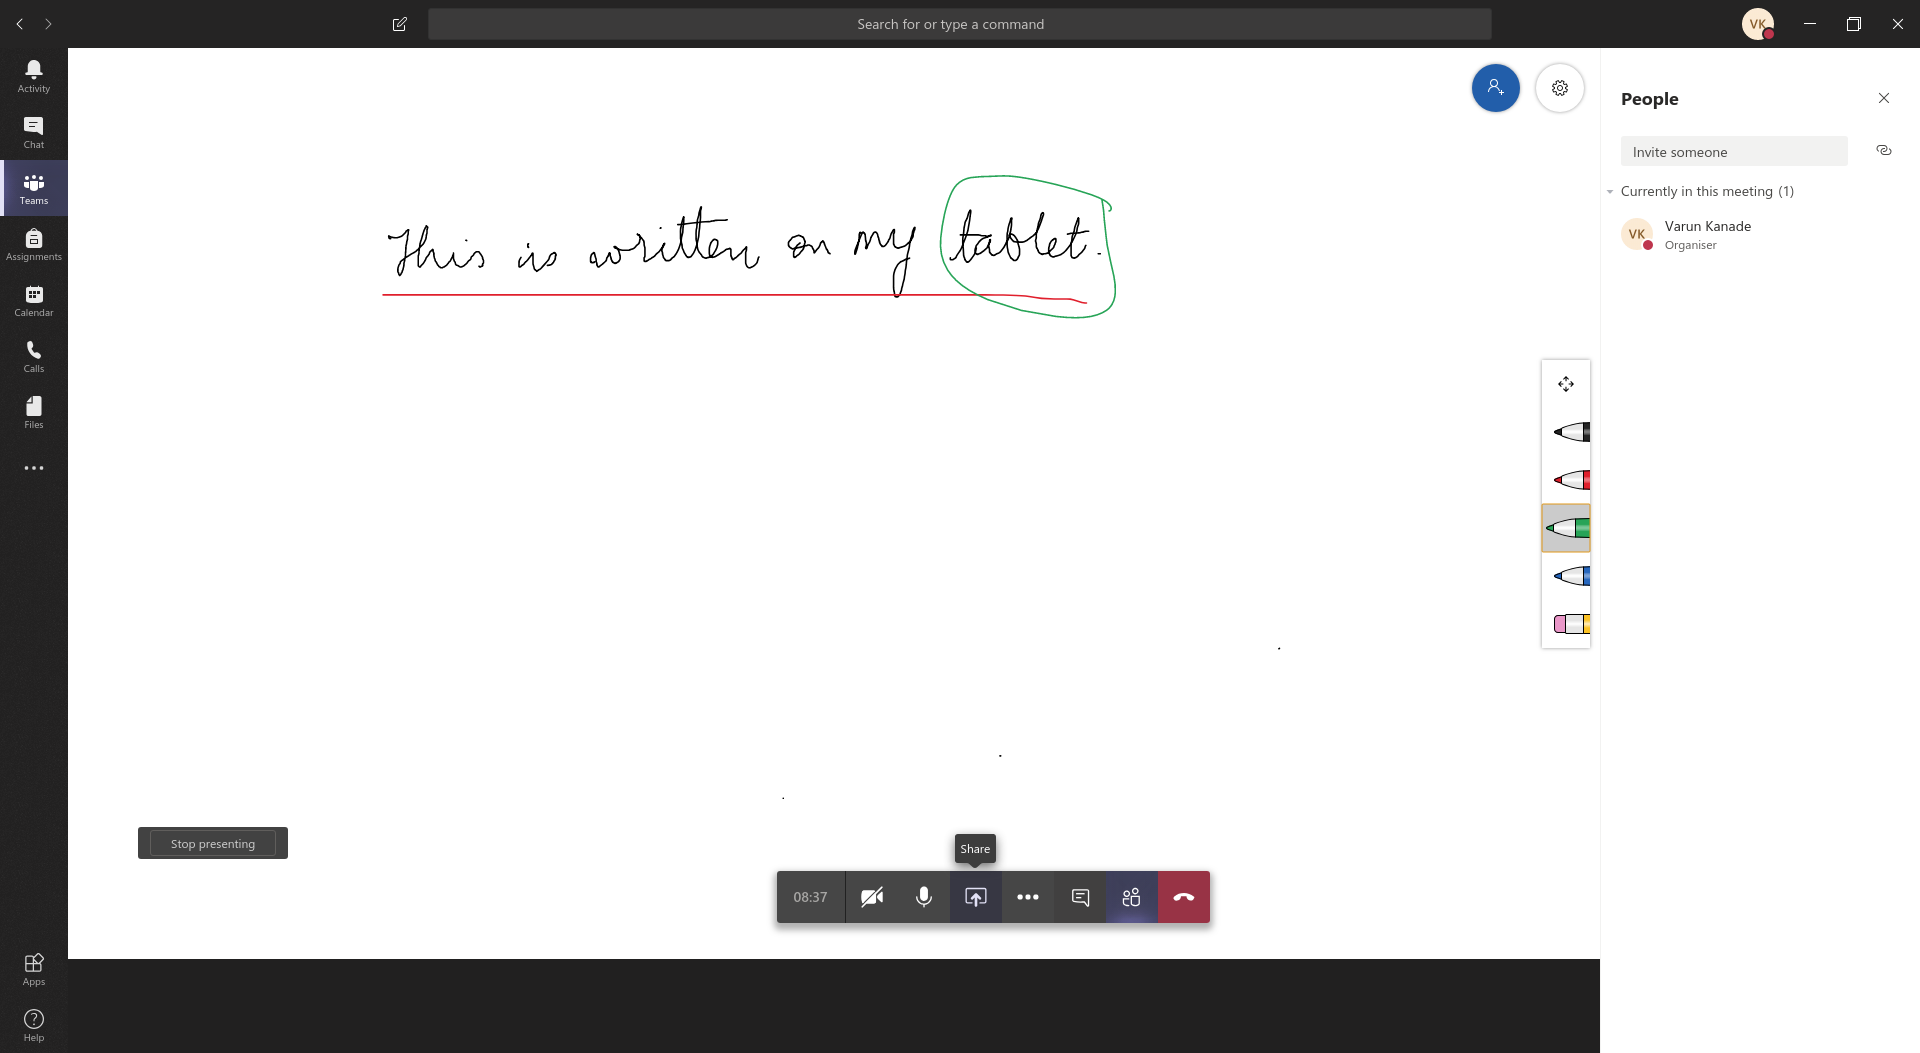
The students could certainly do this from their laptop/dekstop. Furthermore, students can connect to the same call using their smartphone and write on the whiteboard with their finger. Of course, if they happen to have tablets of their own, they can easily connect that to the call, as well. The whiteboards are all saved in the storage associated with your university Nexus account. These whiteboards could be shared with students later as well.
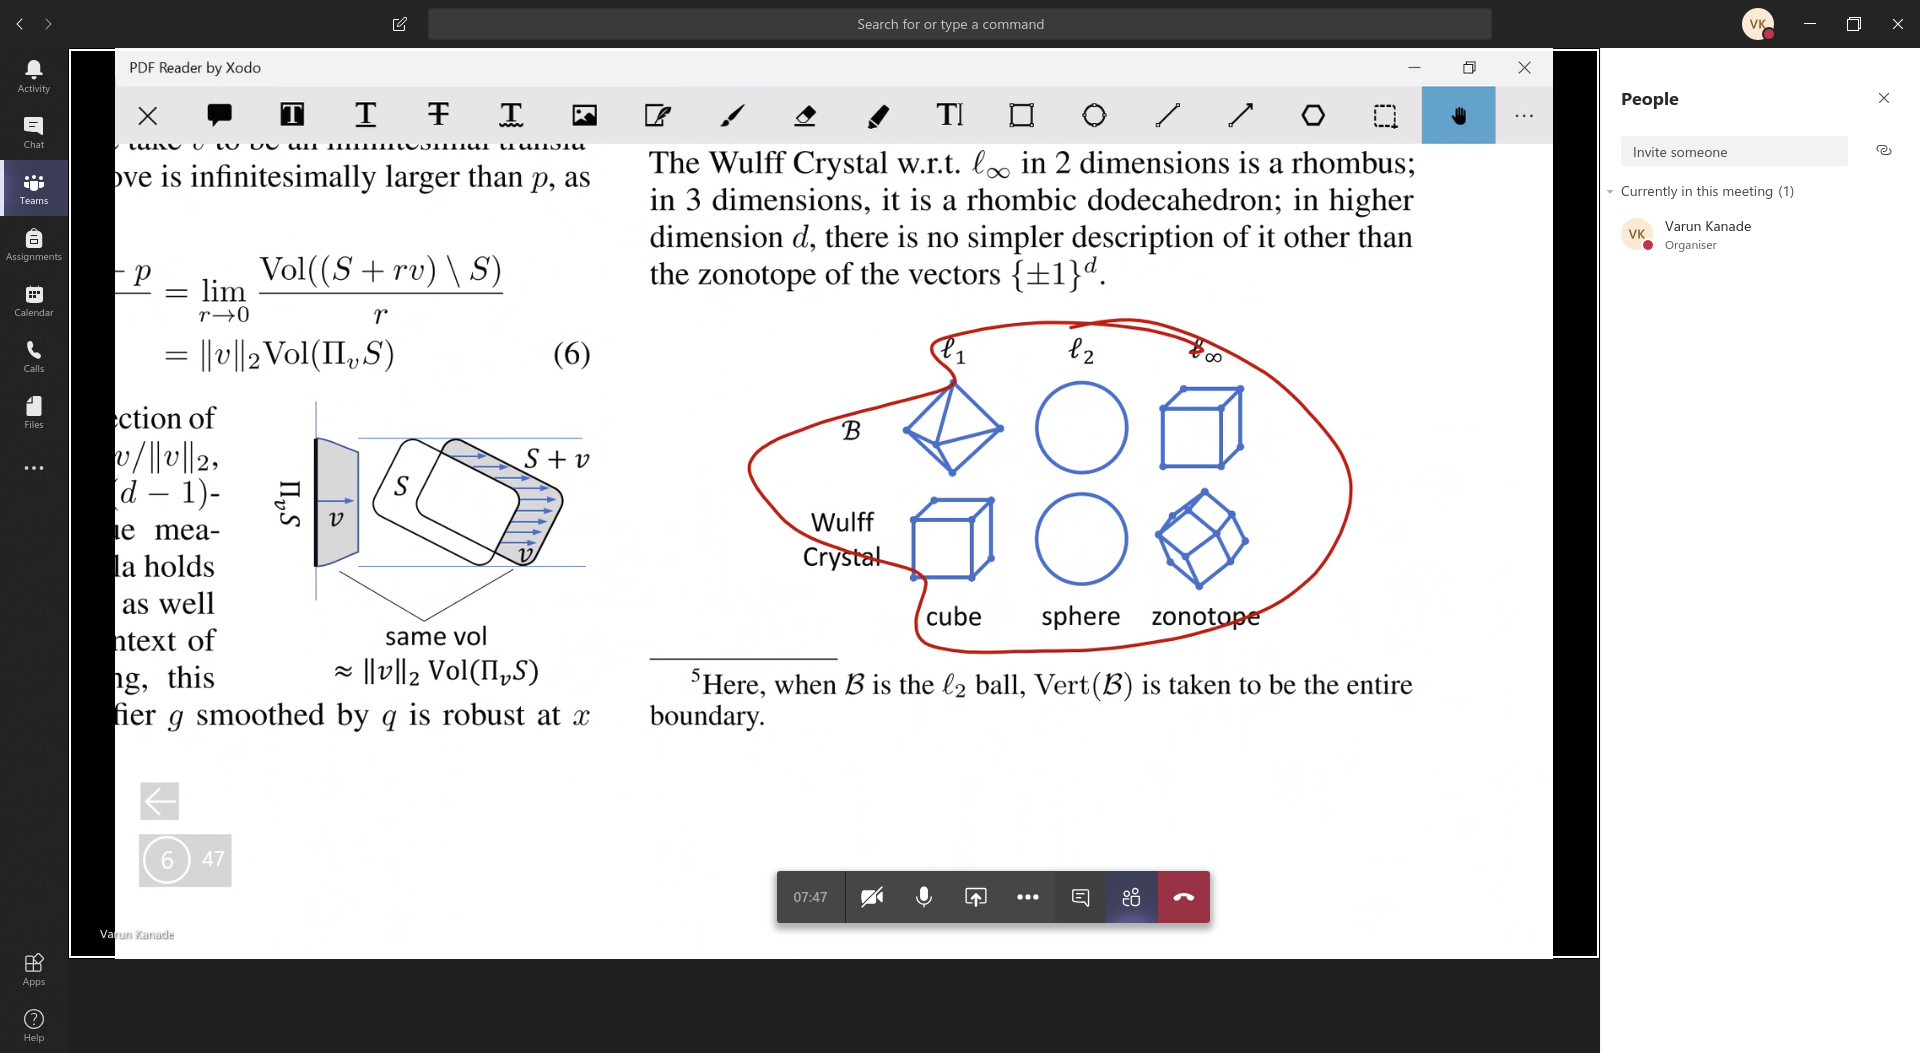
Finally, I plan to ask students to send me their work as pdf files, and need the ability to show them their marked work during tutorial. For this, I plan to use an app called Xodo on my tablet. This allows me to point to specific parts of the work and make marks on it in real-time. These annotations can be saved and the resulting file mailed to the student later.
Conclusions
While we all figure out new ways to conduct university teaching, I hope this is helpful to at least some. I belive this set-up will be useful in re-creating the most useful elements of an in person tutorial experience. If you have suggestions for improvements or queries, please feel free to email me. Thanks to Stefan Kiefer and Christina Goldschmidt for helping out with various test runs.
Tags: oxford, tutorial